Password Protection
This page describes how to encrypt clipboard data stored by CopyQ. The recommended approach is the built-in encryption available since version 14.0.0. A legacy plugin using GnuPG is also documented below for older versions or per-item encryption needs.
Built-in Encryption
CopyQ can encrypt all stored tab data with a user-set password. No external software is required.
To enable it, open Preferences and check the Encrypt Tabs option. You will be prompted to set a password. The password is needed when CopyQ starts and when changing the encryption password. If Require password after an interval is enabled (in the „History“ configuration tab), the password is also requested periodically.
To avoid entering the password at startup, enable Use external key store. This delegates password storage to a platform key store (note that this does not bypass the periodic prompt when password expiry is enabled):
Windows — Credential Store
macOS — Keychain
Linux — GNOME Keyring or KWallet
Unlike the legacy Encryption plugin, built-in encryption automatically covers all tabs loaded by the application — there is no per-tab or per-item setup.
Poznámka
Built-in encryption protects data at rest but does not encrypt exported
data. The exportTab and exportData script commands always write
unencrypted files. When exporting from the GUI (File — Export), CopyQ
prompts for an optional export password — if provided, tab data in the
export file is encrypted with that password. See Backup for details.
Encryption Plugin (Legacy)
Zastaralé od verze 14.0.0: The Encryption plugin is obsolete. Use the built-in encryption described above instead. The plugin remains available for users who need per-item encryption or are running CopyQ versions older than 14.0.0.
Varování
The plugin depends on GnuPG (gpg2), which introduces external key
management complexity and version-compatibility issues. The password must
be re-entered every few minutes.
Installation
To enable this feature you need to have „Encryption“ item plugin.
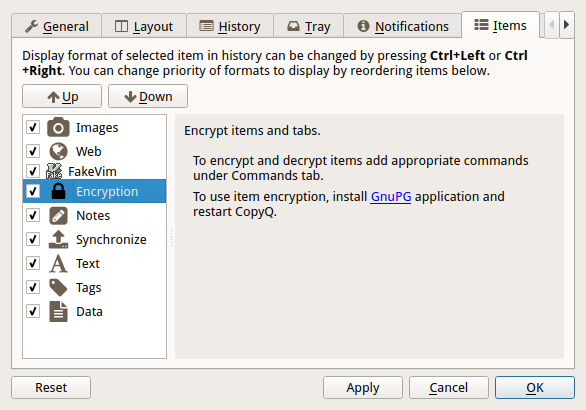
The plugin configuration (under „Items“ configuration tab in Configuration dialog) may prompt you to install GnuPG:
For Windows you can use Chocolatey to install Gpg4win:
choco install gpg4win
For Linux install
gpgcommand line utility. It’s usually provided bygnupgpackage but the package name may differ on some distributions.
Generate Keys and Set Password
To be able to encrypt tabs and items you first need to generate private and public key files.
Click on the „Generate Ney Keys…“ button and wait.
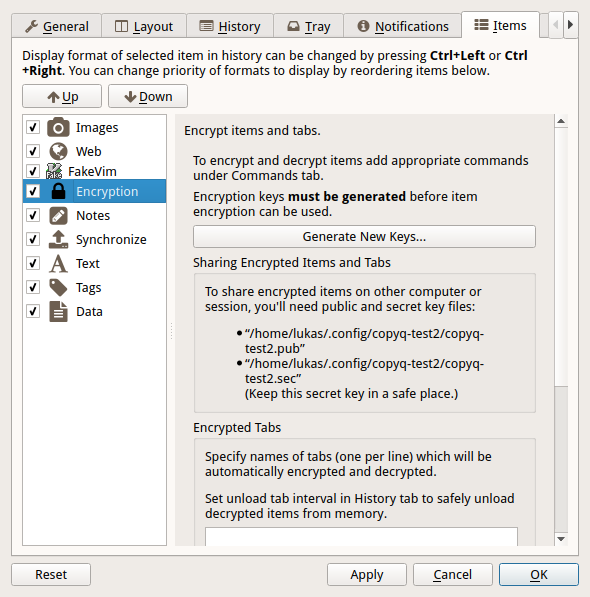
If didn’t set a password in previous step click „Change Password…“ button and set it.

Last step in configuration is to set tabs to encrypt. You can skip this step if you only need to encrypt single item in each tab (see next section).
Click „OK“ button to confirm Configuration dialog.
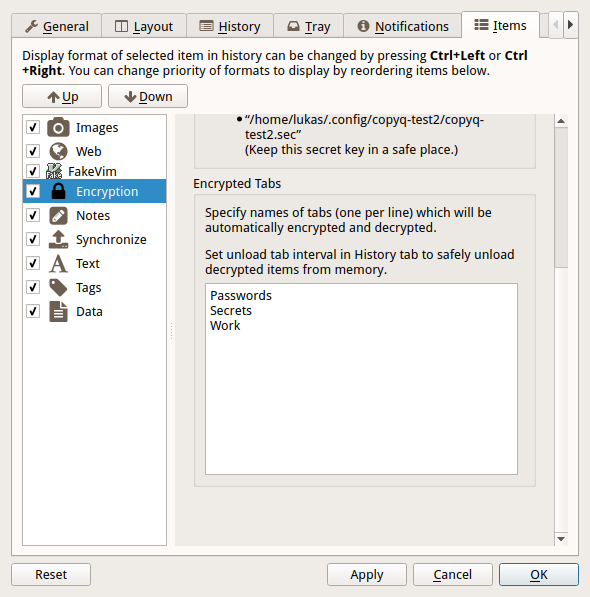
Protect Tabs
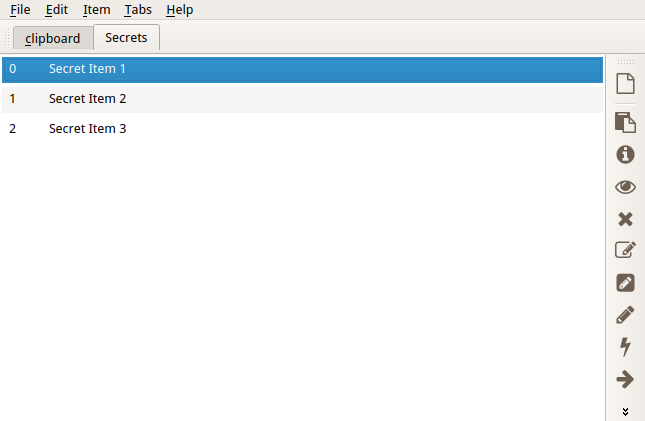
Now you can create the tabs you want to encrypt (Ctrl+T to create new tab).
The tab name should be same as one of the tabs entered in plugin configuration in previous step.
You’ll be prompt to enter password in future (you only need to enter it once in a while).
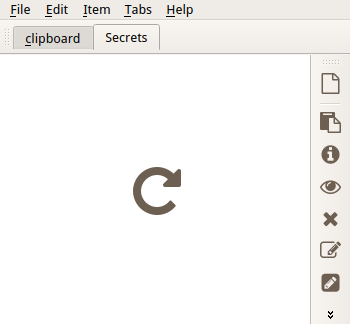
If you enter wrong password or cancel the password prompt you can later click on „Reload“ button in tab to enter password again.
Protect Single Items
To protect items in unprotected tab you can add menu and tool bar actions with keyboard shortcut.
Go to Command dialog F6, click on „Add“ button, „Encryption“ commands from list and confirm dialogs with „OK“ button.
Now you can select items and press Ctrl+L to encrypt („Items - Encryption - Encrypt“ in menu).
To decrypt selected item press Ctrl+L („Items - Encryption - Decrypt“ in menu).